UTOPIA Fiber Installation Process: My Personal Experience
June 18th, 2020
My name is Aubrey Nekvinda, I’m the Marketing Coordinator at UTOPIA Fiber and the voice behind our weekly blog posts. Recently, I moved to a new home with UTOPIA Fiber availability and I thought this would be a perfect opportunity to tell you guys all about our installation process.
Here is a step by step breakdown of how I got UTOPIA Fiber installed in my home:
- When we found our new home, I looked for my address on the availability map for my city and was thrilled to see that the house had UTOPIA Fiber availability.
- Once everything was finalized with our move in, I entered my information on the sign-up page and was contacted by our Customer Service Team the next day to set up my installation time. Because my installation was overhead (done through aerial power lines), the installation time was set for the very next day! For underground installations, the install date is typically set about 9 days out.
- On the day of my installation I got a call 30 minutes before my installation time. My time frame was set for 12:00-5:00 pm and the technician (Mike) called me around 1:00 to say he would be arriving in 30 minutes.
- Mike arrived right on time and walked me through the process of how the fiber lines would be run. We discussed the best way to run the cable into my home, how long the process would take, and what I should expect it to look like when he was done.
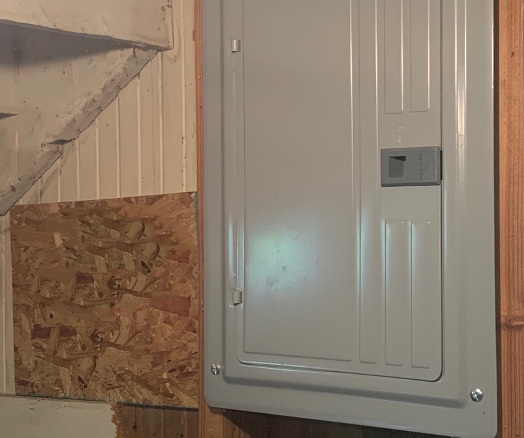
- We went down to my basement where the ONT (Optical Network Terminal) would be installed. Typically, our ONT devices are installed in a non-livable space, where they cannot be easily tampered with or damaged but are still accessible to you or a technician. Many times, we install in utility rooms, garages, and home offices. In my case, it was installed in my unfinished basement that is used only for storage.
- A piece of plywood was installed where the ONT and eventually my router would be placed.
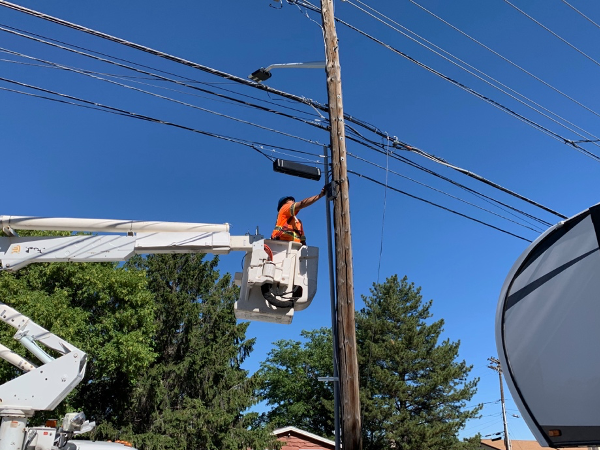
- After the ONT was installed, Mike and his team pulled the fiber line from a nearby power pole into my home. This look longer than usual because the power pole in my neighborhood is located inconveniently far from my home.
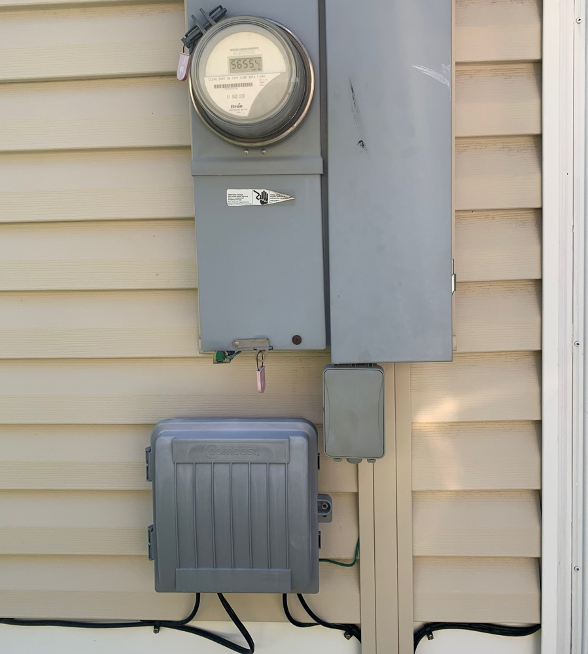
- The fiber line was fed into my home in the same location that my other utilities are run (my utility box). I could hardly tell it was there!
- When the installation was finished, Mike walked me through how to set up my Wi-Fi router. Because we hadn’t fully moved in yet, the router was still at my old house. I planned to move the router over to our new home when we officially moved in. (Normally, your technician will set up the router for you before they leave and make sure everything is working well). Here is a list of our recommended routers.
- We ran a speed test while directly connected to the ONT to make sure my speeds were where they should be. I got the 250 Mbps plan and my speeds were perfect. It’s important to run a test while directly connected to your UTOPA Fiber device because computers, routers, and other devices can impact your speeds.

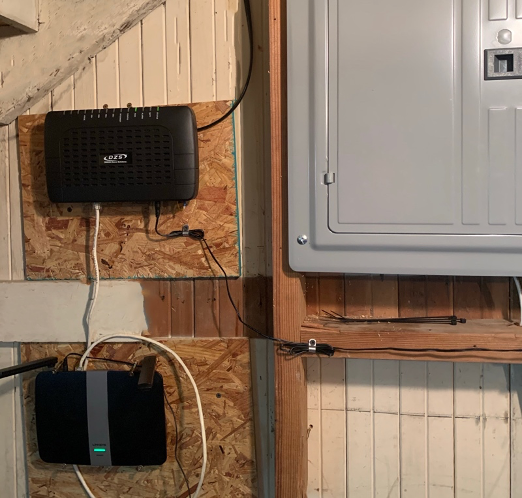
- When I eventually did set up my router, I secured the router to the wall using a power drill and the screws that Mike and his team left for us to use. It’s recommended that you secure your router to the wall somewhere out of the way (preferably next to your ONT) so that it is less likely to get damaged but is still accessible.
- Next, I plugged the ethernet cable into the ‘Internet’ port on my router and connected to Wi-Fi with my phone and devices. Super easy! Below is a picture of the finished product.
It’s important to note that every installation is different because every home is different. My install, for example, was scheduled for the next day but took longer to be installed because the aerial lines were located all the way across my neighborhood, which required extra splicing. Underground installations will be scheduled farther out (about 9 days) but the actual installation may be quicker because the groundwork has already been done before the day of the install. For more information, check out the installation process page on our website.
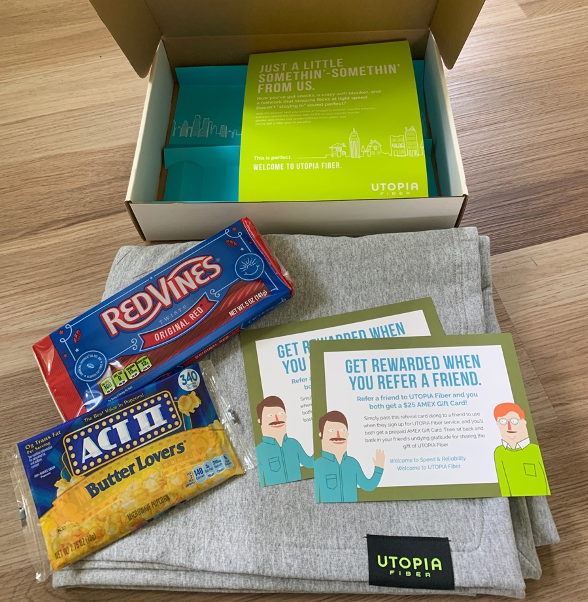
Overall, I was really happy with my installation. The installation team kept me very updated and informed throughout the process. The install was a little loud at times, but the drilling and loud noise only lasted a few minutes. While I waited for them to complete the install, I snacked on some red vines from the welcome kit (picture below) and even got some work done by using the personal hot spot on my phone to connect to Internet.
I’m so excited to have 250 Mbps speeds in my home! Previously, I was dealing with slow and unreliable Internet service that never seemed to be able to keep up. My speeds were impacted by my neighbor’s broadband usage, making it difficult to do anything online around 5pm when everyone came home for the day. With a dedicated connection and symmetrical speeds, I don’t see a slow down at any point in the day and I couldn’t be happier.
Keep checking our Twitter, Facebook, and News page for more updates, and reach out to us at communications@utopiafiber.com if you have any questions.