Fiber Installation Series: Residential Fiber Install
January 20th, 2021
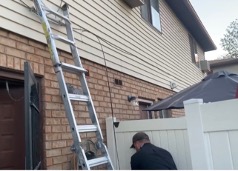
We’re back with another blog in our Fiber Installation Series! This time, we followed our fiber installation team as they installed our fiber at the same home where we filmed our conduit placement video. We also filmed this process, so check out the video below for a visual demonstration. This residential install was an underground installation, but if you want to learn more about how to process works for an overhead installation, check out this blog post.
Steps to getting UTOPIA Fiber in your home
- Sign up on our website or by calling our Customer Service Team
- Our team will call you to schedule your conduit and (optional) walk-through
- Site survey/Walk-through (optional)
- Blue Stakes marks the underground lines in your yard (within 72 hours)
- Conduit is placed by our conduit installation team
- Fiber line is pulled through the conduit into the home
- Set up your router, and you’re ready to start streaming!
This home has already had a site survey done, a locate technician has marked the lines in their yard, and their conduit has been laid. Now, it’s time for our team to pull the fiber into their home and get them connected to our network. Let’s breakdown how that works.
How we install our fiber lines
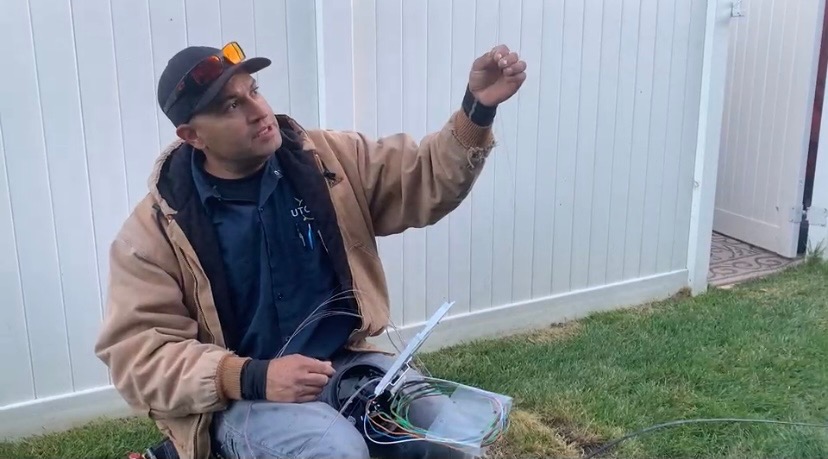
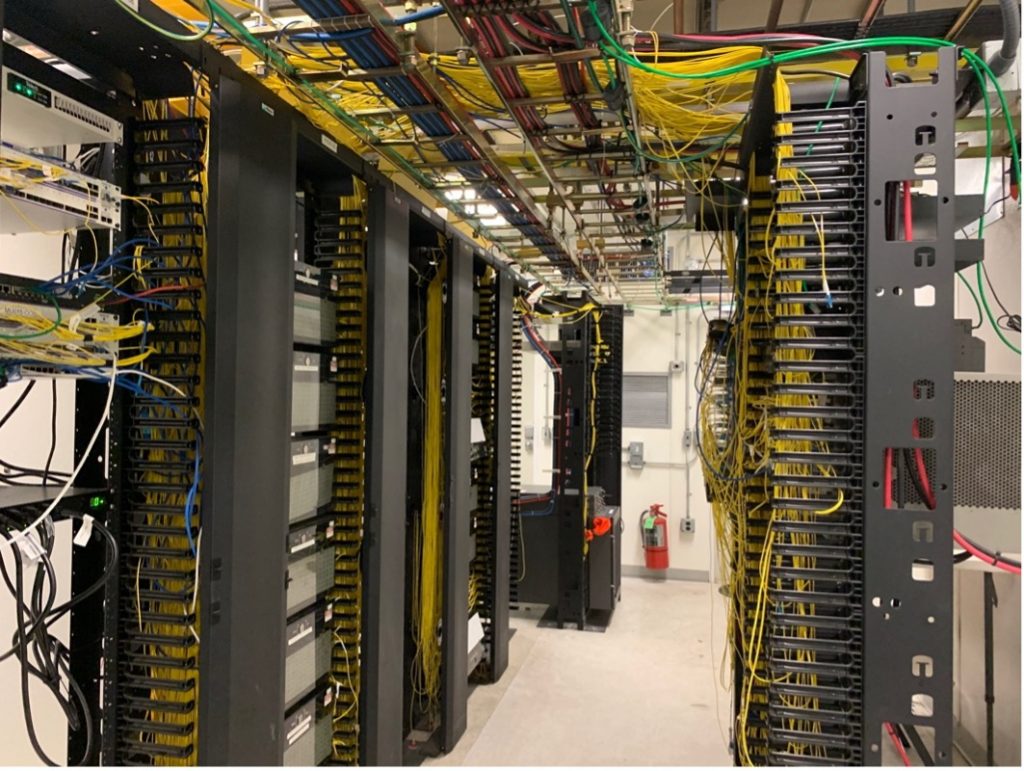
The first step is for our team to activate and splice the customer’s fiber at our fiber hut or cabinet nearby.
Next, they pull the fiber-optic line through the conduit into the home. Then, we secure the fiber (inside a protective casing) to the outside of the home and run the fiber to the access point inside the home.
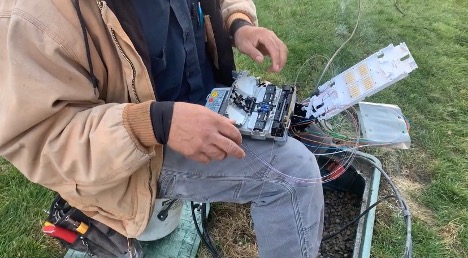
Then, our team will splice the fiber that runs from our hut to the box placed in the customer’s yard using a fiber splicing device. Fiber splicing joins together two fiber optical cables end-to-end. The goal of splicing is to fuse two fiber cables together so that light can pass through the fibers. On a fiber network, your data is delivered through these fiber optic cables, and splicing allows us to connect cables together to build out our network.
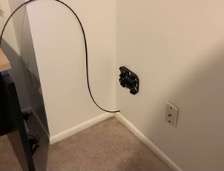
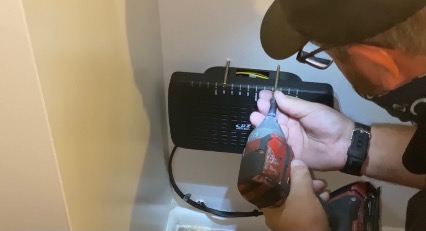
Now that the fiber has been spliced outside, we’ll mount our equipment and splice the fiber inside. The equipment that our fiber runs through is called an Optical Network Termination (ONT). ONTs operate in essentially the same way that a modem does; they convert light signals on the fiber to electrical signals to transfer your data.
We place two screws on top of the ONT to secure it to the wall. Typically, we recommend that our ONT devices are installed in a non-livable space, where they cannot be easily tampered with or damaged but are still accessible to you or a technician. We usually install them in utility rooms, garages, and home offices.
Finally, our technician will perform a speed test to make sure the connection is working correctly. Check out our blog post about how to run a speed test to learn more about speed test results.
And that’s a wrap!
Next up
Now the customer just has to set up their router, and they can start streaming on our ultra-fast fiber network. We’ll be showing you how to set your router up in our video next month. Subscribe to our YouTube channel to be sure you don’t miss it! And reach out to us at communications@utopiafiber.com if you have any questions about this process.